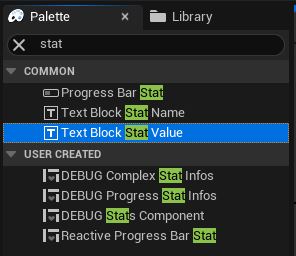
TextBlock_StatValue
A TextBlock_StatValue is a TextBlock widget that implements the IStatWidgetInterface and displays the Target Value of a Stat.
Dropping a TextBlock_StatValue in your Blueprint Widget will give you acces to some settings in the details panel.
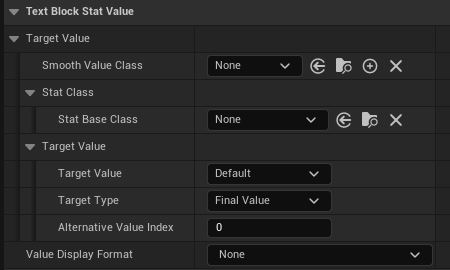
Details Panel
Smooth Value
See Smooth Value.
Stat Base Class and Target Value
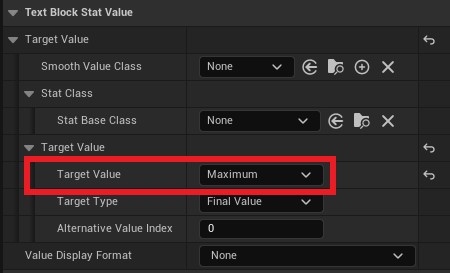
You can select your Stat, then use the Target Value options.
You may wonder why there's an option to display the Minimum / Maximum / Regeneration since we can directly select the Stat we want to display.
There are two reasons:
- To display values that aren't Stats. Minimum, Maximum and Regeneration could be flat values.
- To create an reusable widget that you can initialize with a single Stat.
I want to create multiple widgets for each Complex Stat that will display its Display Name, Final Value and Maximum.
I can add a "Text Block Stat Name" for the name, and two "Text Block Stat Value" for the Final Value and Maximum.
For any of those widgets, we won't need to specify a Stat Base Class since we'll be initializing them with a Stat.
Therefore, I can let the Stat Name as is.
For the first Text Block Stat Value, since I want to display the Final Value, I can also keep its default values.
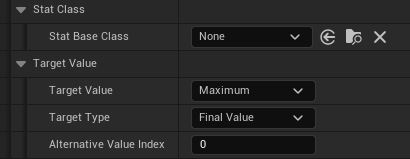
For the second one however, I'll simply select "Maximum".
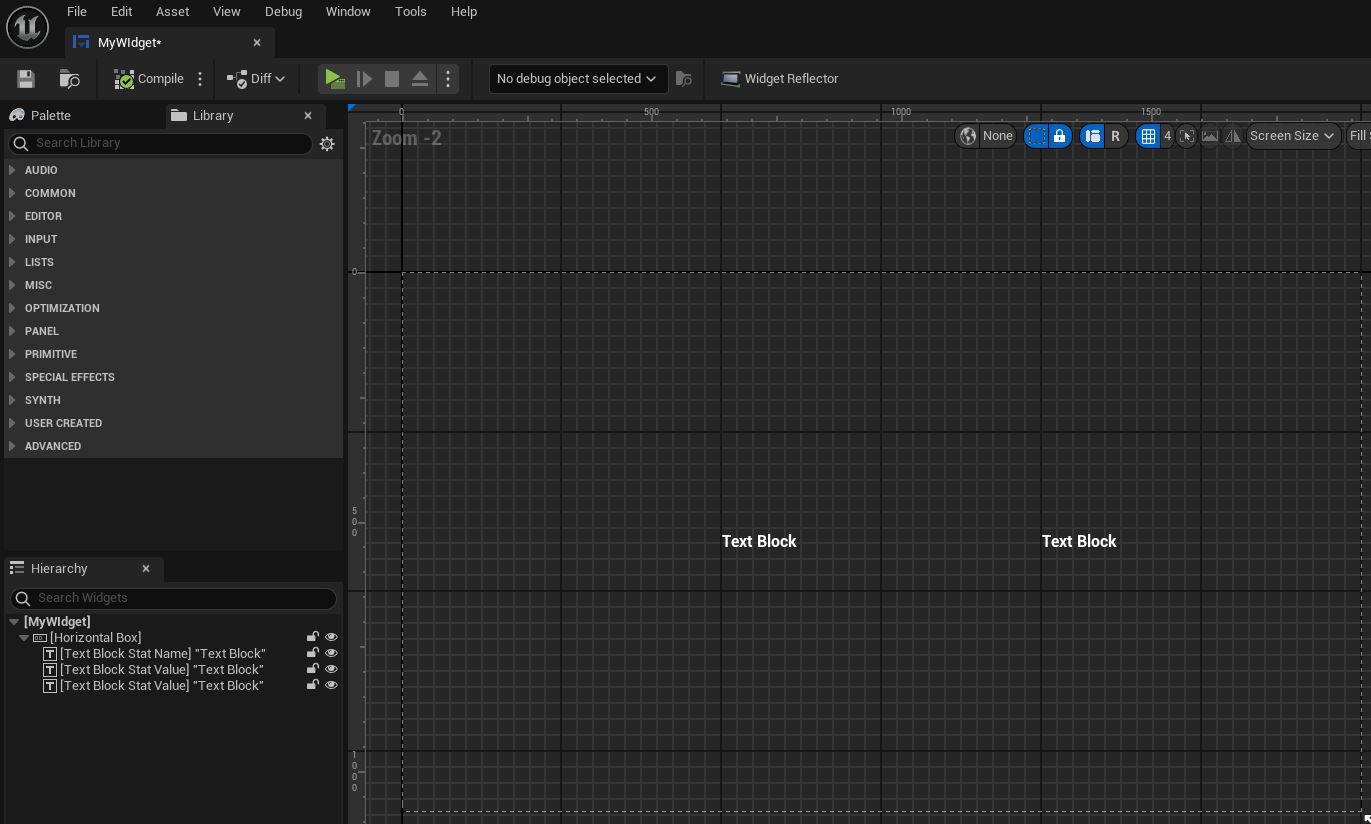
We can now add them to our main Widget.
In my case, I'll just use a Vertical Box.

Click the "IsVariable" checkbox on the top right corner to be able to initialize them later.
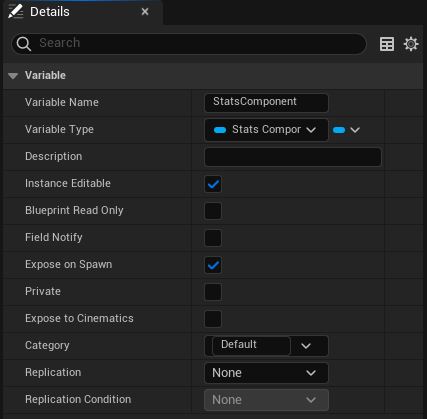
Now, let's create a StatsComponent variable for our main Widget. Make it Editable and Expose on Spawn.
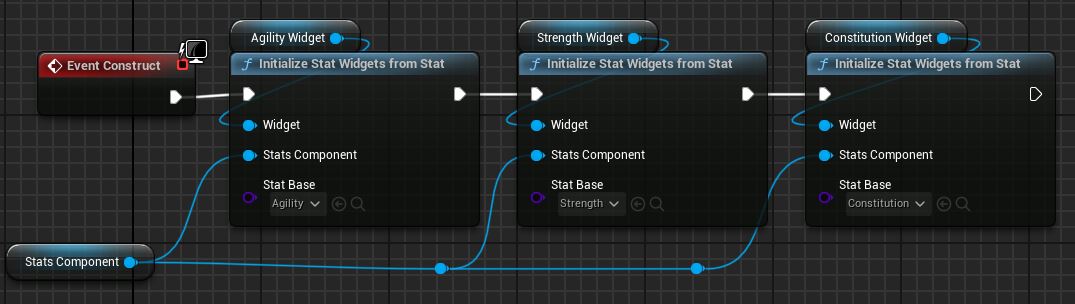
We can now initialize our 3 widgets inside our main widget. Simply call "InitializeWidgets_FromStat()" on all three.
I'll also rename them properly.
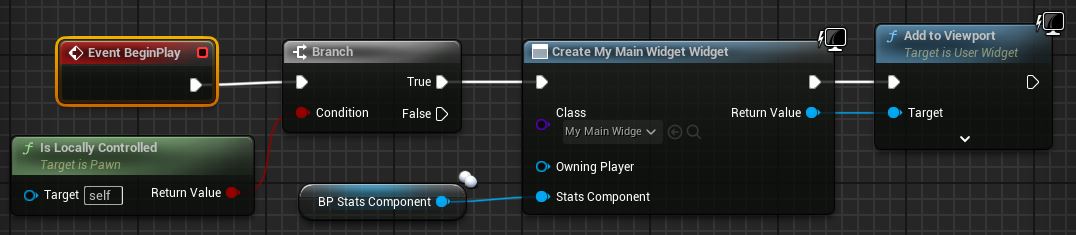
Now, when we create our main widget, we'll just need to give it a StatsComponent.
Value Display Format
You can add a Value Display Format that will be automatically applied (see Value Display Format).
Initialization
TextBlock_StatValue implements the IStatWidgetInterface, so it can be initialized as any Stat Widget.
See Initialize a Stat Widget.